|
Please help to keep this site free. If you like the info provided here for you, please click the link below and donate any amount you like. Thank you for helping!
Welcome to page two. I'm going to post each step I do as they evolve so I wont be doing chapter by chapter like most of the other sites. It simply a matter of time I can spend on the plane and not posting. Plus, I'm doing things a little different as I am working off the Terf CD and changing things as I want them to be for the retracts and engine I am going to use.
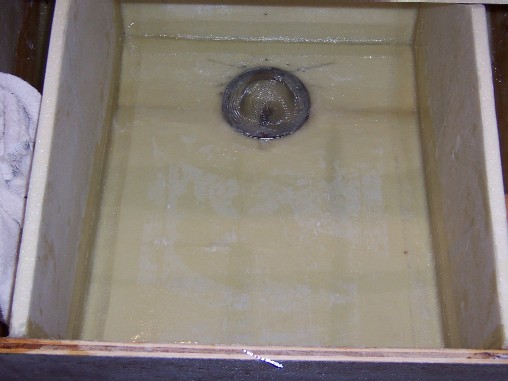
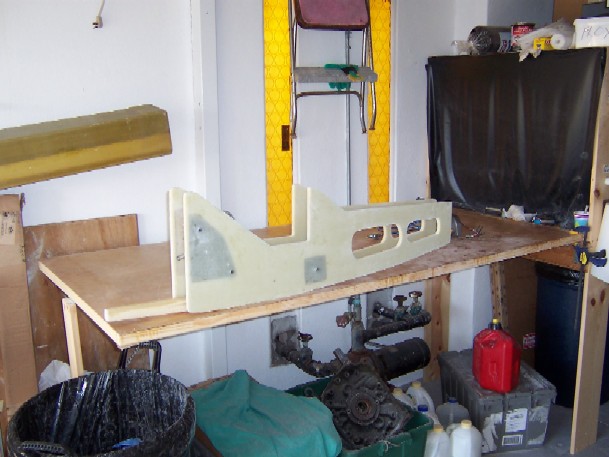
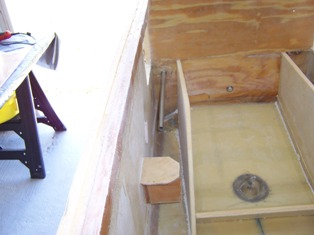
The sump,drain and fuel pickup are in. I fabbed up the bottoms and sides leaving enough room on the outsides of the walls for the control system, electrical s etc.The pickup and the tank drain are all contained under the screen. This will get another layer of bid on all sides and bottom and I will do the sides as I roll the fuselage around to do the outside skin layups. Its easier to do them when its flat! The drains from the strakes will be aluminum tubes into the sump and will be free flowing. The seat back is now in place with bondo and I will pop it out tomorrow and take another pic from the front. When its ready to be sealed up later in the build, I will put 2" strips on the front and top ribs similar how the strake upper skins final layups are done to get a good seal. A vent line will be in the top piece that will join the spar and the seat back. In case you are wondering why all the parts look so white in the all the photos, its because I have got into the habit of sanding everything as I go for future layups as well as the interior painting that will someday get done. I feel it will be a lot easier as I get to the end especially sanding the inside and bending over it so much.
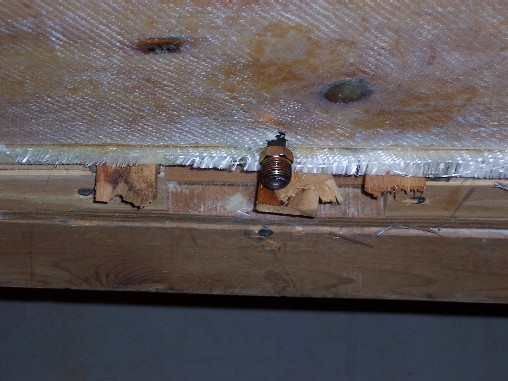
This is the fuel pick up coming out the engine side of the firewall. This will go to the fuel filters, pumps and then to the engine.
Update finally!! 05/25/07 After a shutdown for family and just getting out of the hospital for neck surgery, I am back on the plane. Below are some fresh pics with a little detail about each one. Enjoy!
This is my new main spar from Dennis Oelmann. Great workmanship and this will save me a bunch of time. This is for a Cozy MKIV and is 8" wider than a stock Long EZ. I went this route because of using retracts and this will help make up the loss of tank space. I will use Cozy wings also which I just got the fresh cut foam cores from Stephen James. Excellent quality and workmanship! Pics of them when I start the wings.
Pretty straight forward here. I used the design from the Open EZ project and fitted the templates to the fuselage and per plans from then on for layups. I may go back and close up the holes on the sides and make the front section into a plenum for the oil cooler and heat ducts.
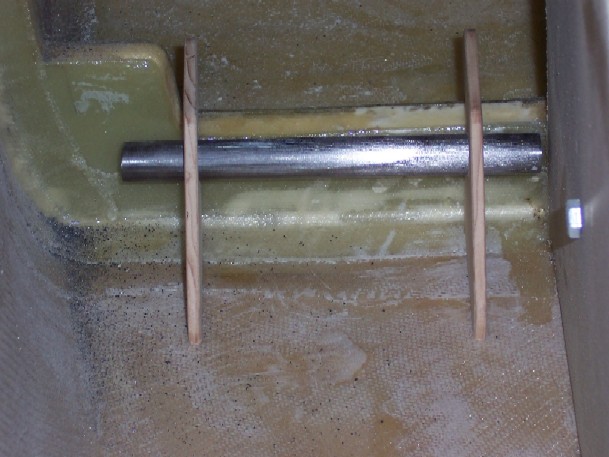
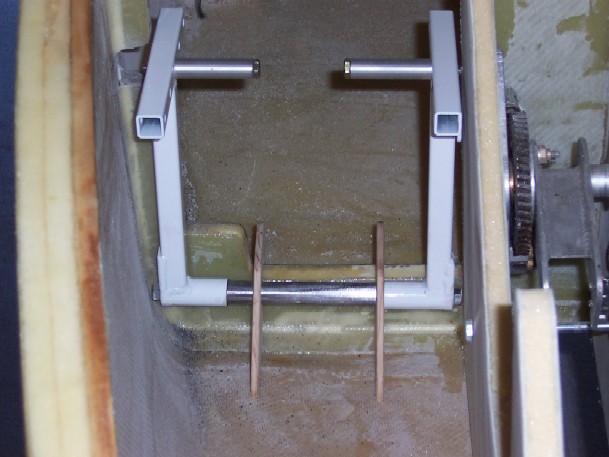
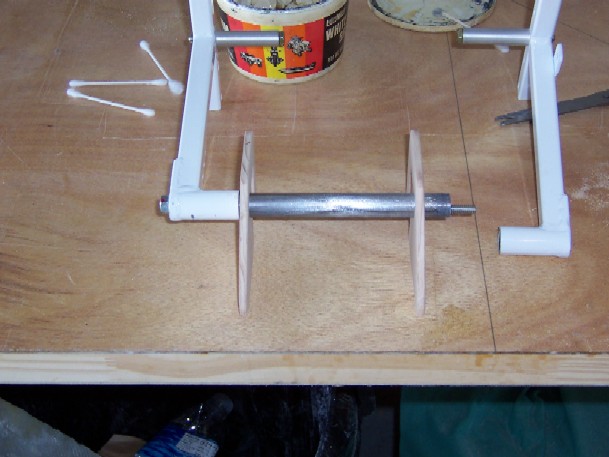
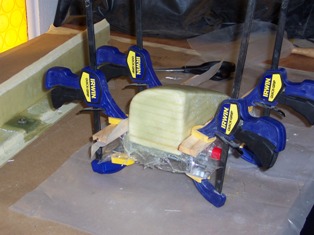
Dennis Oleman pedals. I redesigned them to fit the way I wanted in the fuselage
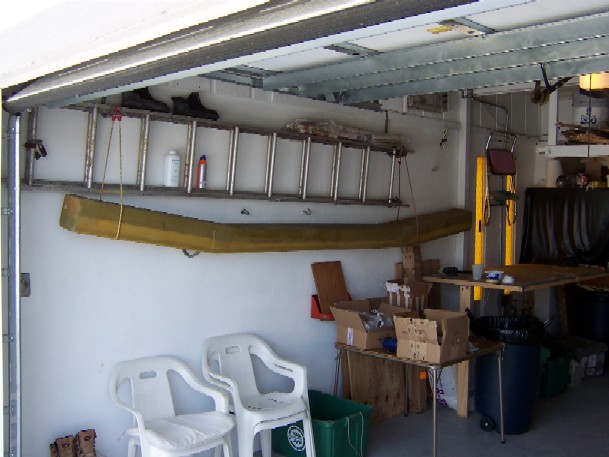
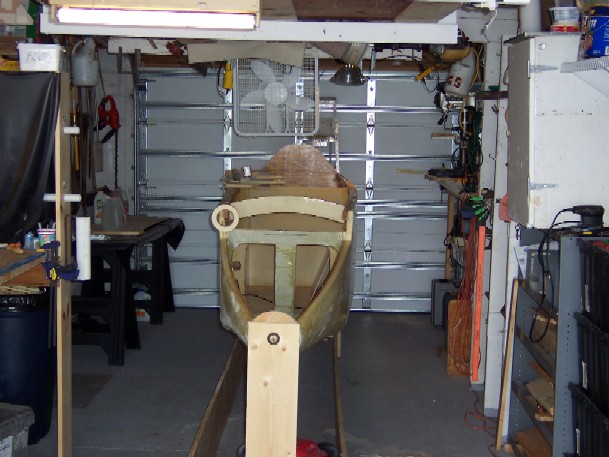
This is one trick I highly recommend. This allows you to work on the entire fuselage inside and out by rotating it to where it is the easiest to work on for layups, sanding or parts installation. I recycled the shipping crate that my main spar came in and used junk from my nuts and bolts leftovers I saved along the way. I've got less than $10.00 in the whole thing. I made it about waist high and it really saves the back also. I use a scrap piece of wood as a strut to lock it in place with 2 drywall screws, one on the bottom of the jig and the other end attaches to the firewall.
Long time for an update. I had another surgery and its been a journey. A lot more problems getting healed up than I wanted. I started on the upper canopy's and fuselage. I made plywood templates and also a story board to get the shape I wanted as well as try to keep it as symmetrical as possible. Obviously this is not to plans. It came out OK but not as "finished" as I wanted. I'll have to do a lot more filling and sanding than I wanted. All in all, I'm pretty happy with the results and it has motivated me to get a lot of the little parts and pieces done that have been worked on but not finished. Here's a bunch of new pics!
This is a shot of the rear control mount and fuel sump. The arm rest will attach to it after I get all the work done inside that I can.
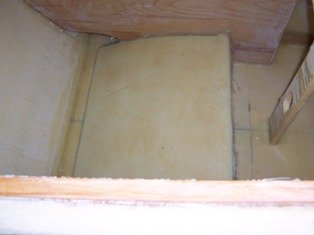
Front seat bottom is done. I added one extra layer of bid and will eventually do the same for the floor area.
Oil cooler duct layup. The blower fan attaches to this and will force air across the front trunk mounted oil cooler, through the landing gear bulkheads and out the other side into another plenum. This plenum will have adjustable flaps to direct the air to the defroster vent, front floor and rear floor. I'll bend up some aluminum removable caps to seal up the top of the bulkheads.
|