|
Please help to keep this site free. If you like the info provided here for you, please click the link below and donate any amount you like. Thank you for helping!
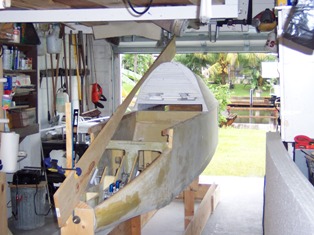
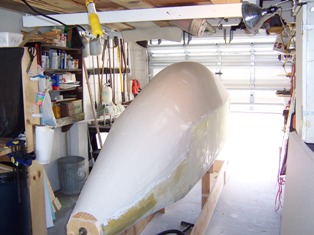
Here, the rear foam plug is done and I am starting on the front half with the story board in place. I started from the roll bar at the front seat head space and kept cutting down the templates in 4" increments until I got to the nose. This was very difficult to maintain a gradual curve as well as trying to keep it all symmetrical. As I moved forward, I filled each 4" space with hot wire Styrofoam rough cut and then hot wired it smooth using the templates as a guide. I then rough sanded it smooth and the covered it with drywall mud, blocked it out and finally wet sanded it with a sponge to get it slick. I then sprayed it down with a spray wax, (read mistake) for a release mechanism. I wish I had used a 1 mil thick plastic as I did for the canopy's themselves as this stuff is stuck throughout and will take a lot of time and patience to scrape it all out to install the interior foam for the layups
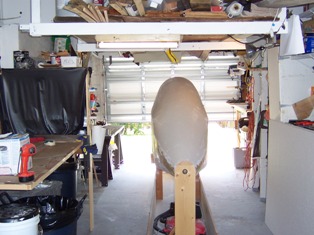
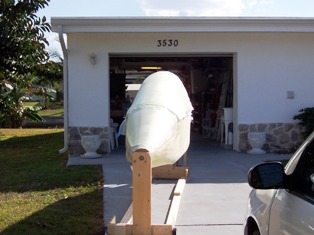
Front shot of the foam plug done
Rear foam plug shot
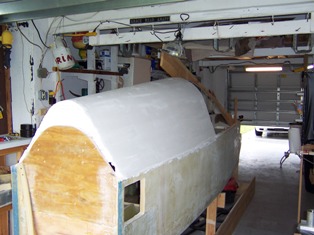
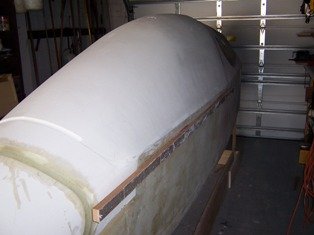
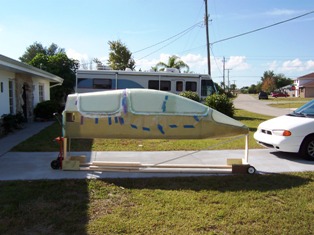
Good shot of the curves and symmetry work. (Read P.I.A.)
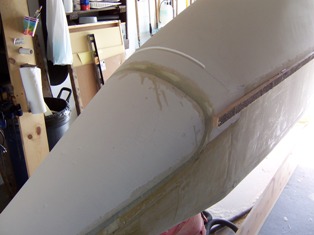
I decide to make a lip for all the canopy's edges. I laid up bid layers for the first one and it was very time consuming and difficult to get them to lay down etc. So, for the rest, I laid in one layer of bid and then a kind of dry flox. I am going to route out the right depth on the lips and then use a product called backer rod (3/8) for the seals. After the first cut with the router, I will come back again with a 3/8" bit and cut a half moon into the lip for the rod to be glued in place. This will seal all the canopy's from air and water.
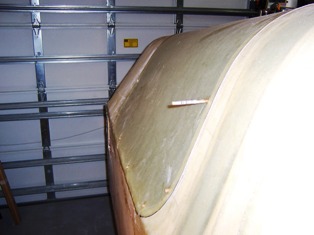
Front canopy lips done and the transition between the front trunk and main canopy done
Rear canopy to rear firewall transition done.
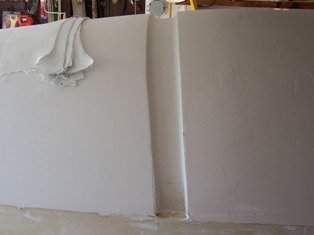
Main roll bar routed out in the foam plug.
Main roll bar, canopy lips and front and rear canopy transition done.
I used my oak sanding board as a router guide on both sides. I stuck it in place with bondo and the knifed it off when I was done. You can see the #40 grit bondoed to the board also. This made the foam sanding go a lot easier for getting it straight for the drywall mud. It could use some handles on it for the next use!
Everything is laid up and curing out finally.
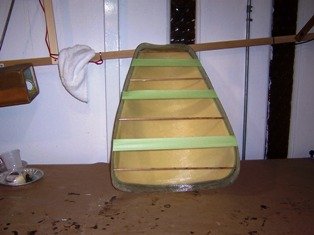
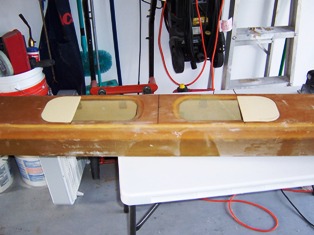
This is the front trunk curing out after I fitted the 1/4" foam to the inside and laid up 2 plies of bid oriented. I drilled holes on each side of the skin and then 5 min epoxied the wood dowel rods in place to hold the outside skin steady before I removed it from the fuselage as I did the inside work. This worked out pretty well but I am going to add a side to side stiffening bulkhead to the front and rear of the trunk.
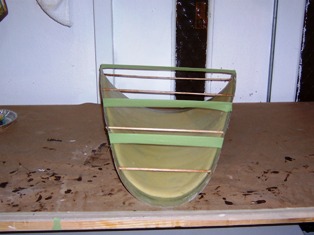
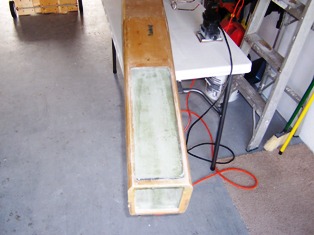
Dowel rod in rear canopy before I cut it off so it will lay on the table for the inside foam and layup.
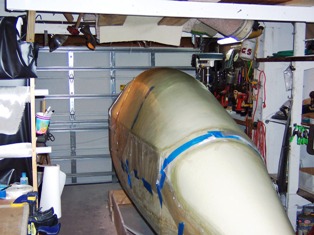
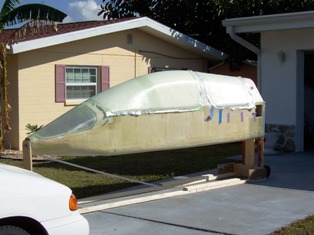
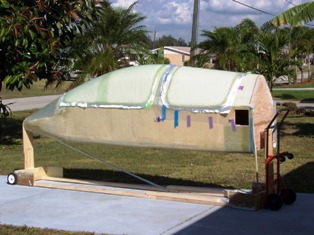
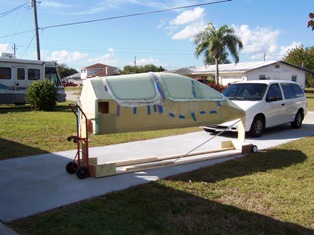
At this point, the "hanger" got to where I couldn't walk through it, so I bought some cheap wheels and some all thread and honky rigged up a front axle. Picked up the rear of the rotisserie with the hand cart and rolled it outside for some fresh air and a little sun! Got my first good side view of it as in the shop I am right beside it on each side. It's two stalls but they are end to end, not side by side. After I snapped the pics, I completely clean everything and re organized it as best I could. Now I will never find anything again!!!!! LOL. Did pick up some space though.
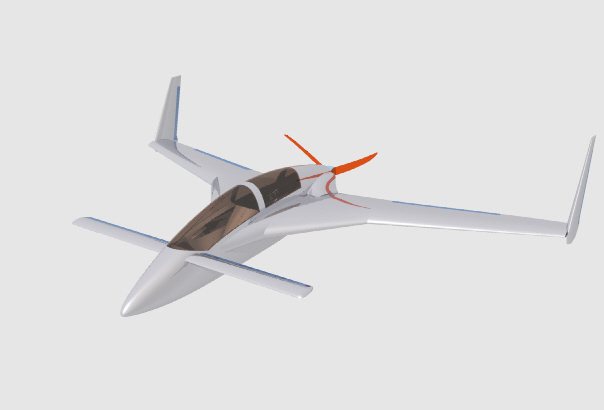
Bet your wondering what in the wonderful wide world of sports I am going to do for windows huh?
Can you tell it not quite to plans yet???? LOL
I have to make some adjustments to the MKV4 spar so it will work in the Long fuselage. I added these plates to each side to close up the holes. If not, the holes will be in the strake area for each gas tank.
This is one step for the retracts. I am following the Infinity guide lines for the layups etc.
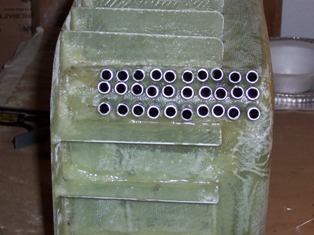
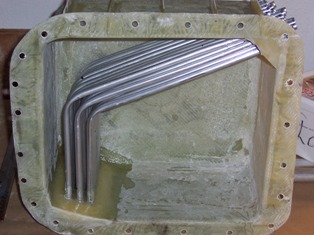
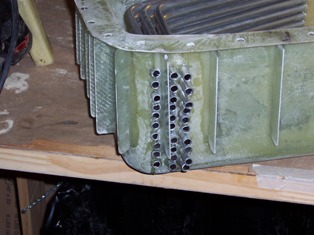
Following Bill James work on his oil pan I decide to try the same thing on mine. Oil cooling on a rotary engine is critical and I feel this will really help. A blast tube will be installed to force the air through the tubes and out the back to the prop and I plan on having an adjustable flap to be able to choke the air at altitude as needed. This pan can hold up to three gallons of oil not counting the oil in the front cooler and lines. The front cooler will have an air dump built into the floor / front landing gear door so I can use it as well if needed to help with hot days etc. I have to get the pan into the oven for post cure and then get the lip surfaced machined flat. I prepped the tubes by sanding them for the mechanical bond and then set up the pan so I could pour wet flox into the corners one at a time to seal the tubes inside as well as to the pan walls. The walls were four layers of bid oriented with the lip of four as well as a thick layer of flox which will be machined. I made several glass fins for the sides and attached them to the bottom of the pan rail for support, cooling and rigidity and then made aluminum fins to go on the bottom of the pan itself. This is a full blown experiment!
More coming as I progress. I am going to keep working on the main fuselage as long as I can so I can make use of the rotisserie for ease of work. The next steps will be to clean up all the foam and drywall mud (read mess!) inside of the outer skin layups and then install all the 1/4" foam and interior layups as well as the hinges, windows and latches. Rout out the lips for the seals. I have the front landing gear ready to go in and then I can make the front wheel box also and the front gear door flaps. Metal removable covers for the cooler plenum and also run the tubes for heat to the front windshield and floor front and rear. I have the wing and rudder foam cores waiting for layups as soon as I get the fuselage done and moved outside out of the way, but this will be a while. Zoom Zoom Zoom!!!!!
|