Welcome to page 3 of the build
Order your plans today!!!!!!!! Just click on the link below to download them onto your computer!

I'll add more pics and info as I go along. Its time consuming to do all the little stuff that you really don't see. A lot of wiring has to be done and there are many things for the engine that have to be thought out as to hiding the wiring harness, mounting the computer itself, radiator plumbing and on and on. 11/27/09 OK, Ive got a lot more done and here are some more pics. The car is at the mechanics to get the computer / engine wiring harness done and get the engine fired up. Then the bikini top will be next and the title work for the plates. Still waiting on a brake line kit and the throttle cable and the car will be complete !!!!
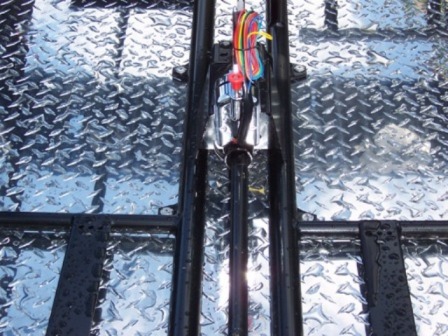
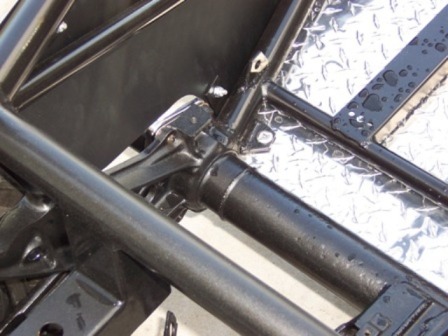
The signal mount on the back of the shifter box. When I did the wiring for the lights, I had a problem with the flashers not working correctly. I finally figured out that the heavy duty flasher itself has different circuity inside and will not work with this unit. I changed it out for the standard cheap older style and it now works correctly.
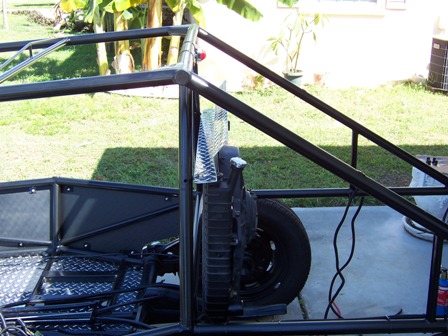
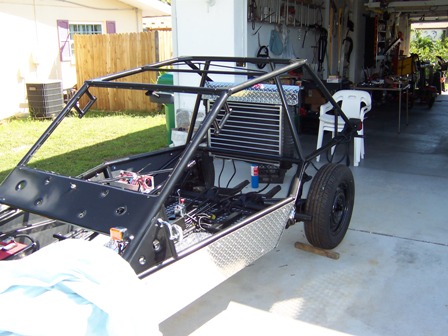
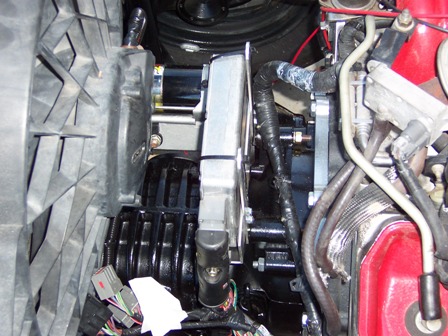
Here is a side shot of the radiator install. I made an aluminum grill for the front and a tread plate guard for the top which also serves as a top mount. This guard will help to prevent the passengers from getting scalded if a hose comes loose or there is a over heating problem.
Interior shot of the panel mounts and inside.
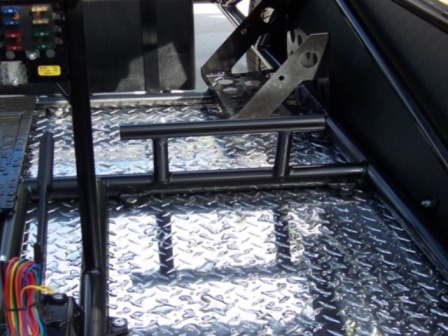
Passenger side foot brace.
I decided to mount the computer here on top of the trans for good access and to protect it from the elements. It will have a bracket on top with a weatherproof boot from the upholsterer. Once its road tested, all the connections in the harness will be siliconed.
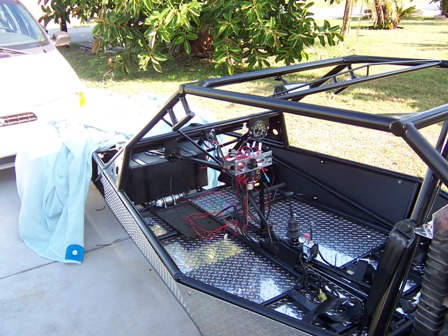
Console and interior shot.
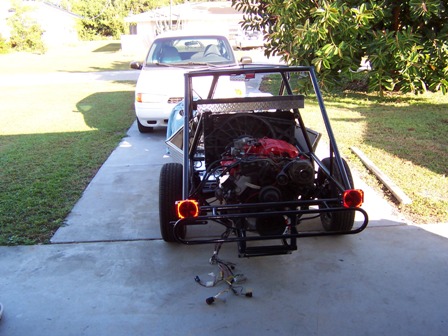
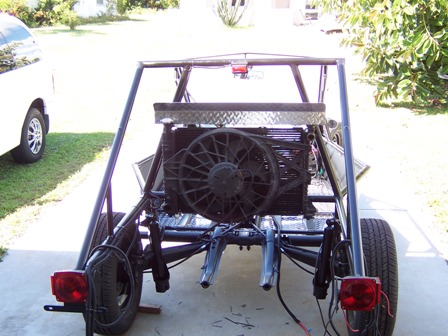
Rear shot of the engine install. Routing the wiring harness, plumbing etc.
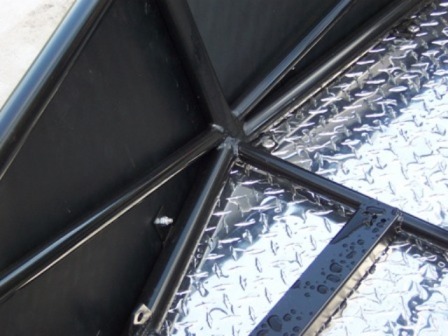
This shot shows how the floor mounts and tabs were installed. This is all for today, 11/27/09. I will add the final photos in a few weeks when its done and up for sale. 2/25/10 Finally its done after a lot of time getting the computer flashed so it works correctly with the engine. You can see the finished product on my for sale page here.
Badass buggy for sale!
|